Pattern, Dye and Sew your own Unique Mask
You can make your own face covering using free materials you’ve probably got lying around your house. Most of us have an old bedsheet, pillowcase or even and old white cotton garment that could be upcycled and did you know that some of the food waste you throw away everyday contains free fabric dye?
On the days we would have spent visiting friends and relatives, this year we have a chance to get creative with projects we might not usually have time for. As we have to wear face coverings for now, why not enjoy the process of making one yourself? No one else will have a mask like yours as the unique naturally dyed pattern you make can not be replicated. By upcycling free materials, you’re caring for yourself and the Earth and you’ll save a huge amount of energy and resources by not buying new, synthetic fabric and dyes which cause incredible harm to the environment.
Materials you will need:-
- an old white pillowcase, bedsheet or other cotton item
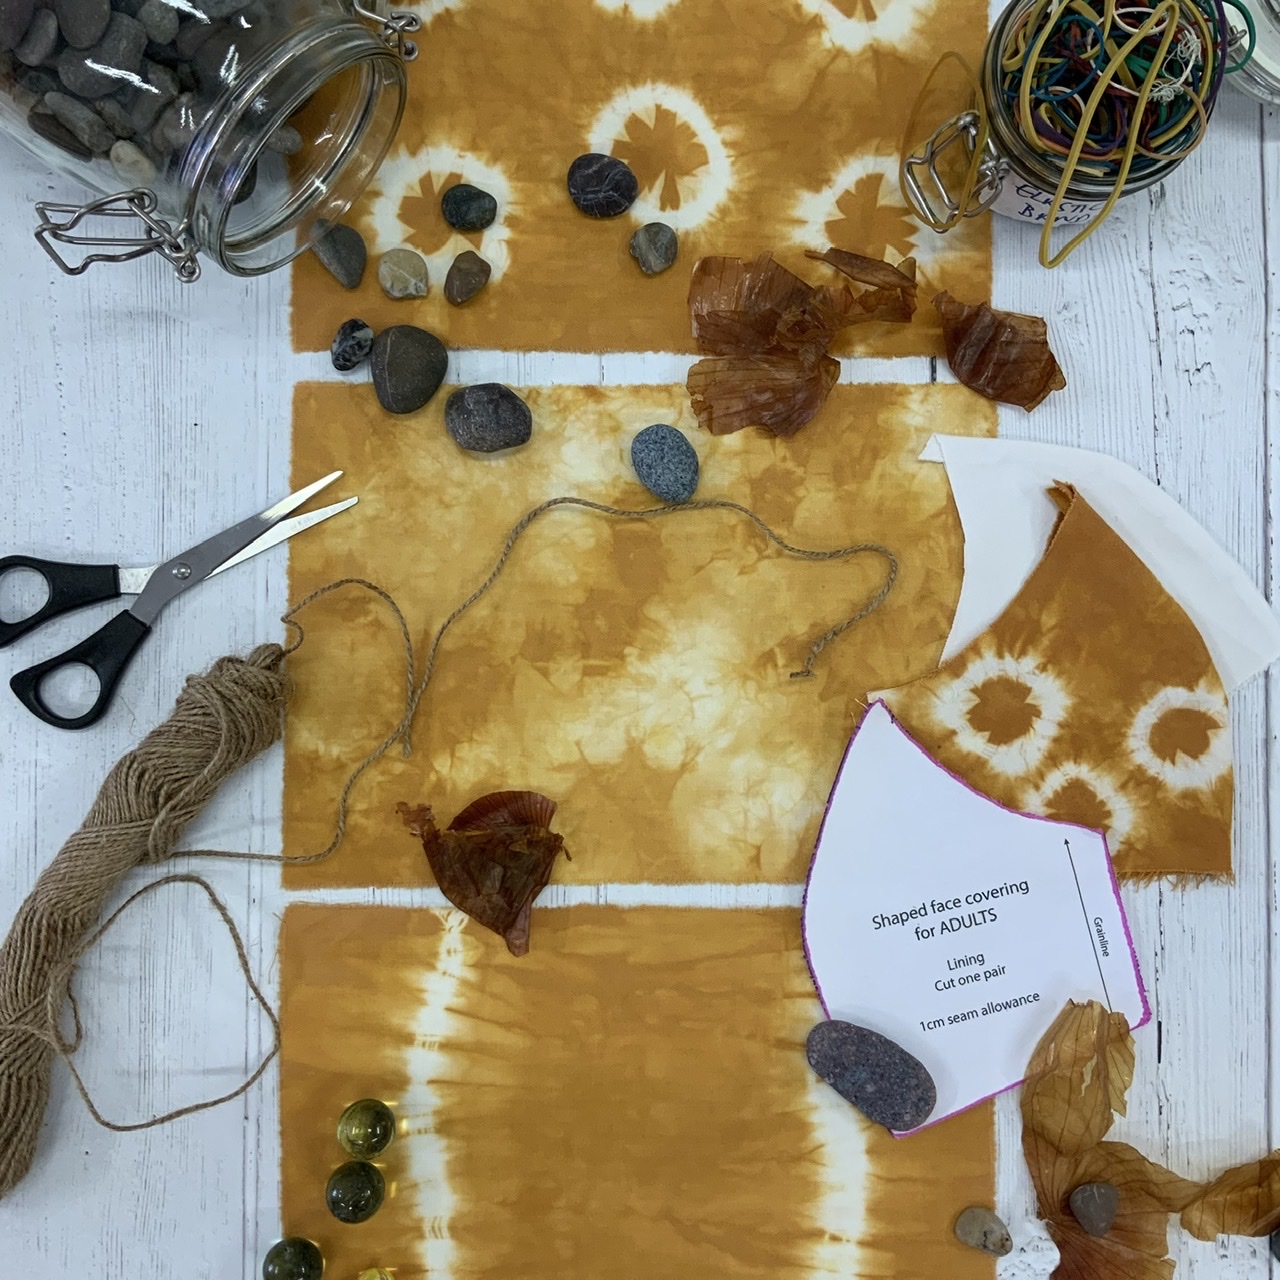
- enough onion skins to fill a large pan
- a large pan
- pebbles or marbles
- scissors or a rotary cutter
- elastic bands or string
- hair bobbles or elastic for ear loops
- a needle and thread or sewing machine
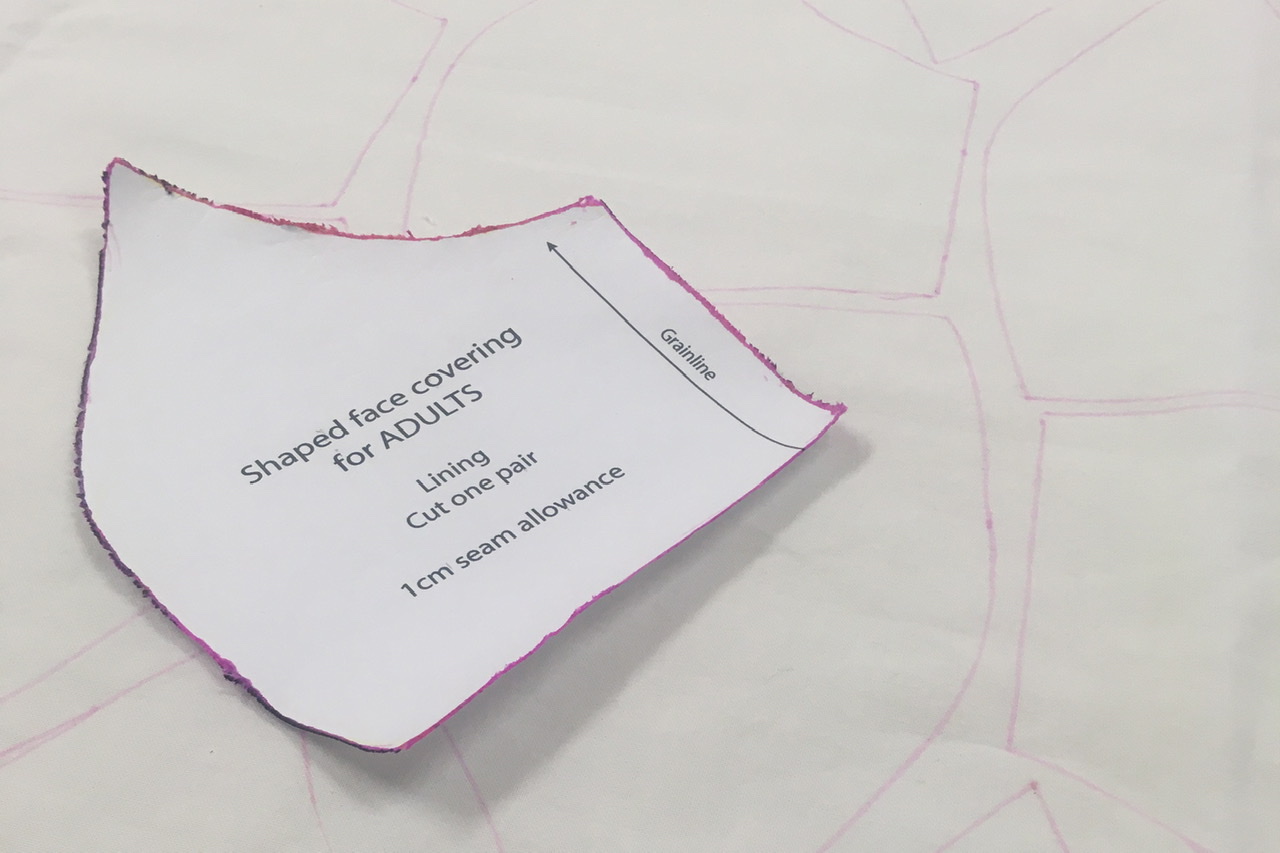
- a face covering pattern e.g. BigCommunitySew.co.uk
Health & Safety
Natural dyes are chemicals and should be treated as such. However, this particular natural dye has been chosen as a safe way to introduce beginners to a food grade kitchen waste that doubles as a free colourant. Under normal circumstances using most other plant dyes, you should not use kitchen equipment or utensils that you use to cook food but with onion skins - it’s fine. Make sure you get proper training with a qualified profession before trying anything else.
Instructions (refers to fitted face covering but applicable to concertina style too):-
1. Scour your fabric before cutting out (in case of shrinkage) - scouring just means hot washing in an eco detergent. This removes any conditioners, brightening agents, grease etc that might interfere with the natural dye process. The easiest way to do this is to put on a hot cycle in your washing machine but you could also put just enough fabric into a pan with some detergent and simmer for 2 hours. Rinse and dry ready for sewing and patterning.
2. Cut out your pattern pieces using templates from BigCommunitySew.co.uk
3. Stitch front panel of (fitted) face covering before patterning and dyeing so the design flows. Cut out notches from the curved seam so it opens out smoothly.
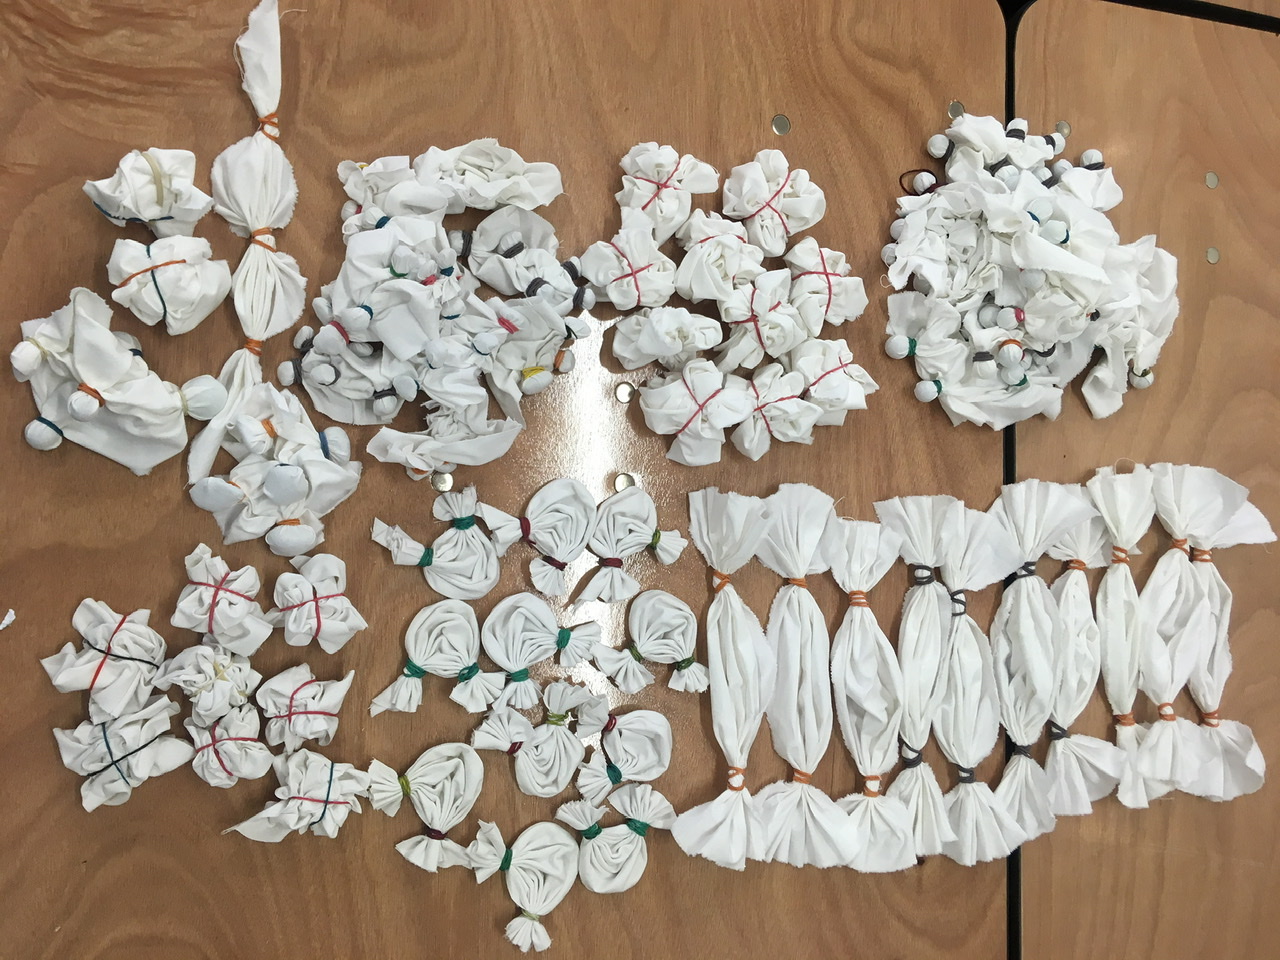
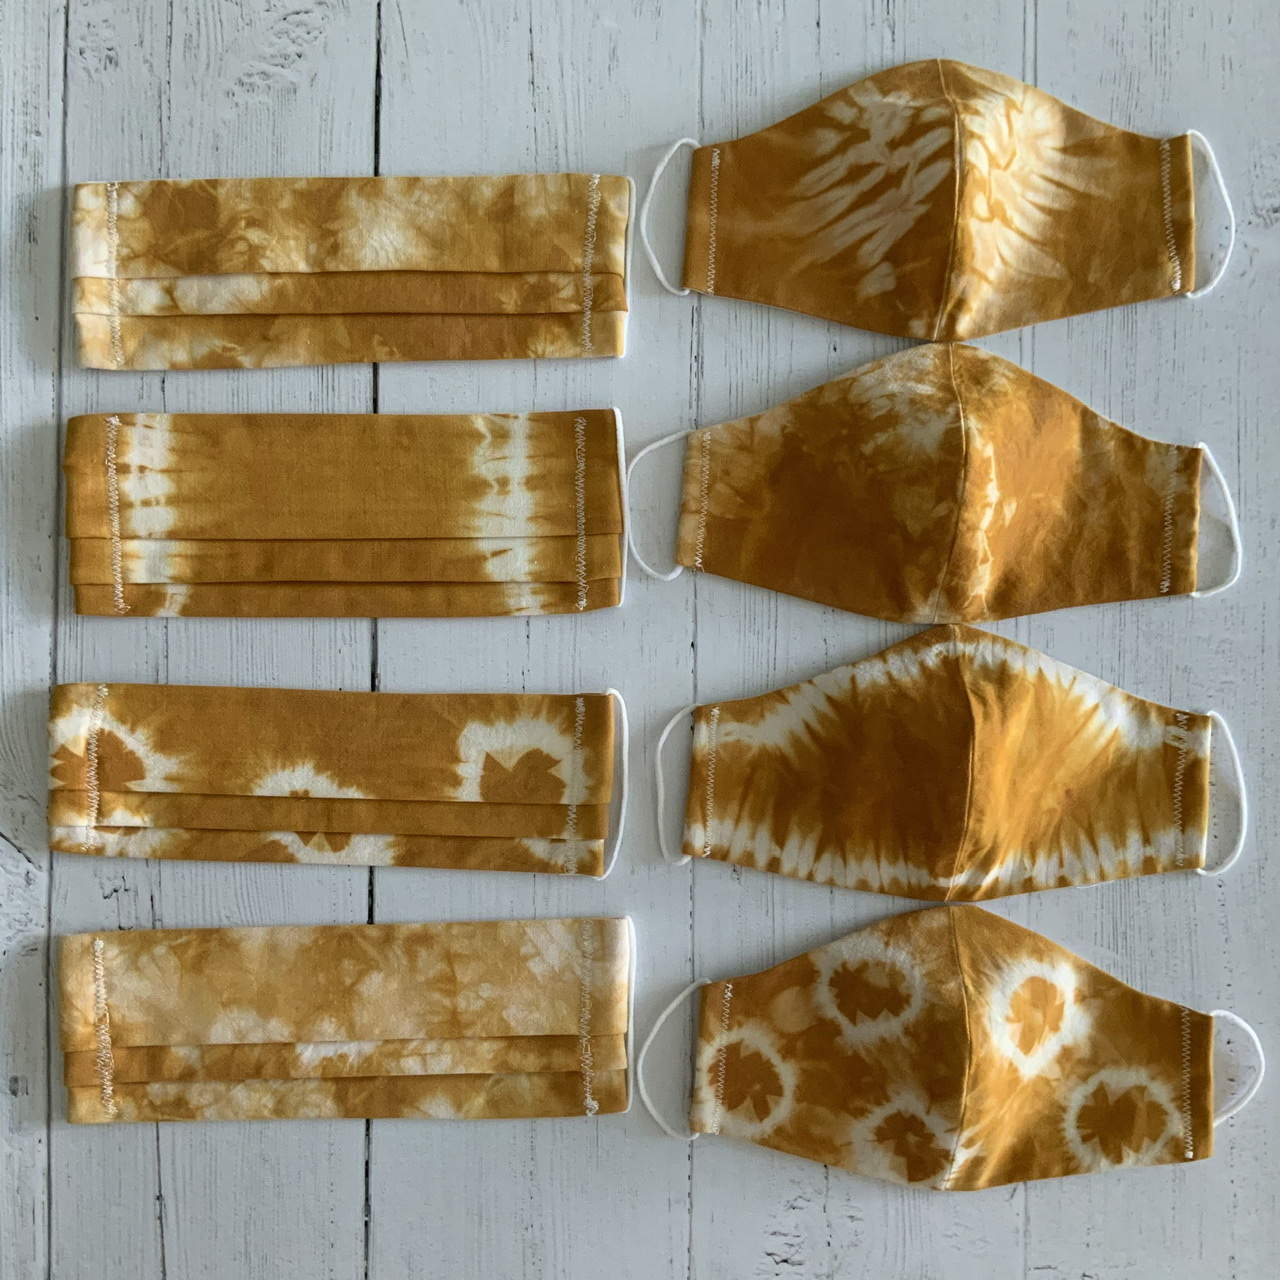
4. Pattern - There are 4 simple tie-dye techniques you can try or just invent your own. You only need to pattern the front panel of your face covering, so the side in contact with your skin remains white.
- Circles: using string or elastic bands, tie marbles or pebbles into your fabric. Wherever you tie will create a ‘resist’ or white area of pattern. Ensure the ties are tight enough to stop your dye liquor penetrating and consider the placement of your resists so they create a balanced pattern across the front of your face covering.
- Border: fold your stitched front panel in half with right sides out. Lay it flat on a surface and gather a line 2cm in from the top and bottom edges. Bind with string or elastic.
- Heart: fold in half as above, draw half a heart using either a fading embroidery pen, chalk or pencil then stitch along your line using strong (or doubled) thread. Gather both ends of your thread tight and tie in a knot.
- Cloud: lay your front panel flat with right side up then scrunch into a ball, keeping most of the right side outermost. Bind loosely with elastic or string bearing in mind that no dye with penetrate if it’s tied too tight but you can always re-dye until you’re happy with the design.
4. Dye - Fill a large pan 2/3rds full with onion skins and water. Place your tied face covering in and simmer for 2 hours - leaving to cool overnight if possible. Once dyed, rinse, untie, dry and iron.
5. Stitch - Sew the back panel of your face covering then place the front and back panels right sides together. Line up the centre seams exactly by either folding one seam to the left and one to the right or opening both out. Use pins to secure in place. Stitch along with bottom and top edges of face covering then turn right sides out. Fold under the right and left edges, inserting your hair bobble or elastic to create ear loops. Stitch both edges then iron your finished mask!
Caring for your Face Covering
All face coverings should be hot washed regularly and under such usage, all fabrics will fade in time. The virtue of having a mask that you’ve naturally dyed yourself using free materials is that you can enjoy the creative process all over again and revive the colour if it fades with another onion skin dye bath.
Next Steps...
If you love the idea of wearing natural fabrics and dyes rather than synthetic petrochemicals, you can learn how to dye any colour of the rainbow using just three plants in my online workshop ‘Core Skills in Natural Fabric Dyeing’ which just went on sale for Christmas week. Get 25% off from 25th-31st Dec on all my on demand, instant access workshops using the code: XMASWEEK25